Face expression change: Master AI Emotions for Lifelike Digital Avatars
Discover actionable techniques for face expression change to build realistic AI avatars with lifelike emotions.

Giving your AI avatar the ability to change facial expressions is what truly breathes life into it. It’s the secret to transforming a digital puppet into a personality people can actually connect with. Whether you're building an AI influencer, running an ad campaign, or just creating cool content, believable expressions are what make your character feel real.
This guide will walk you through how to get that precise emotional control, which is the key to grabbing your audience's attention and telling a better story.
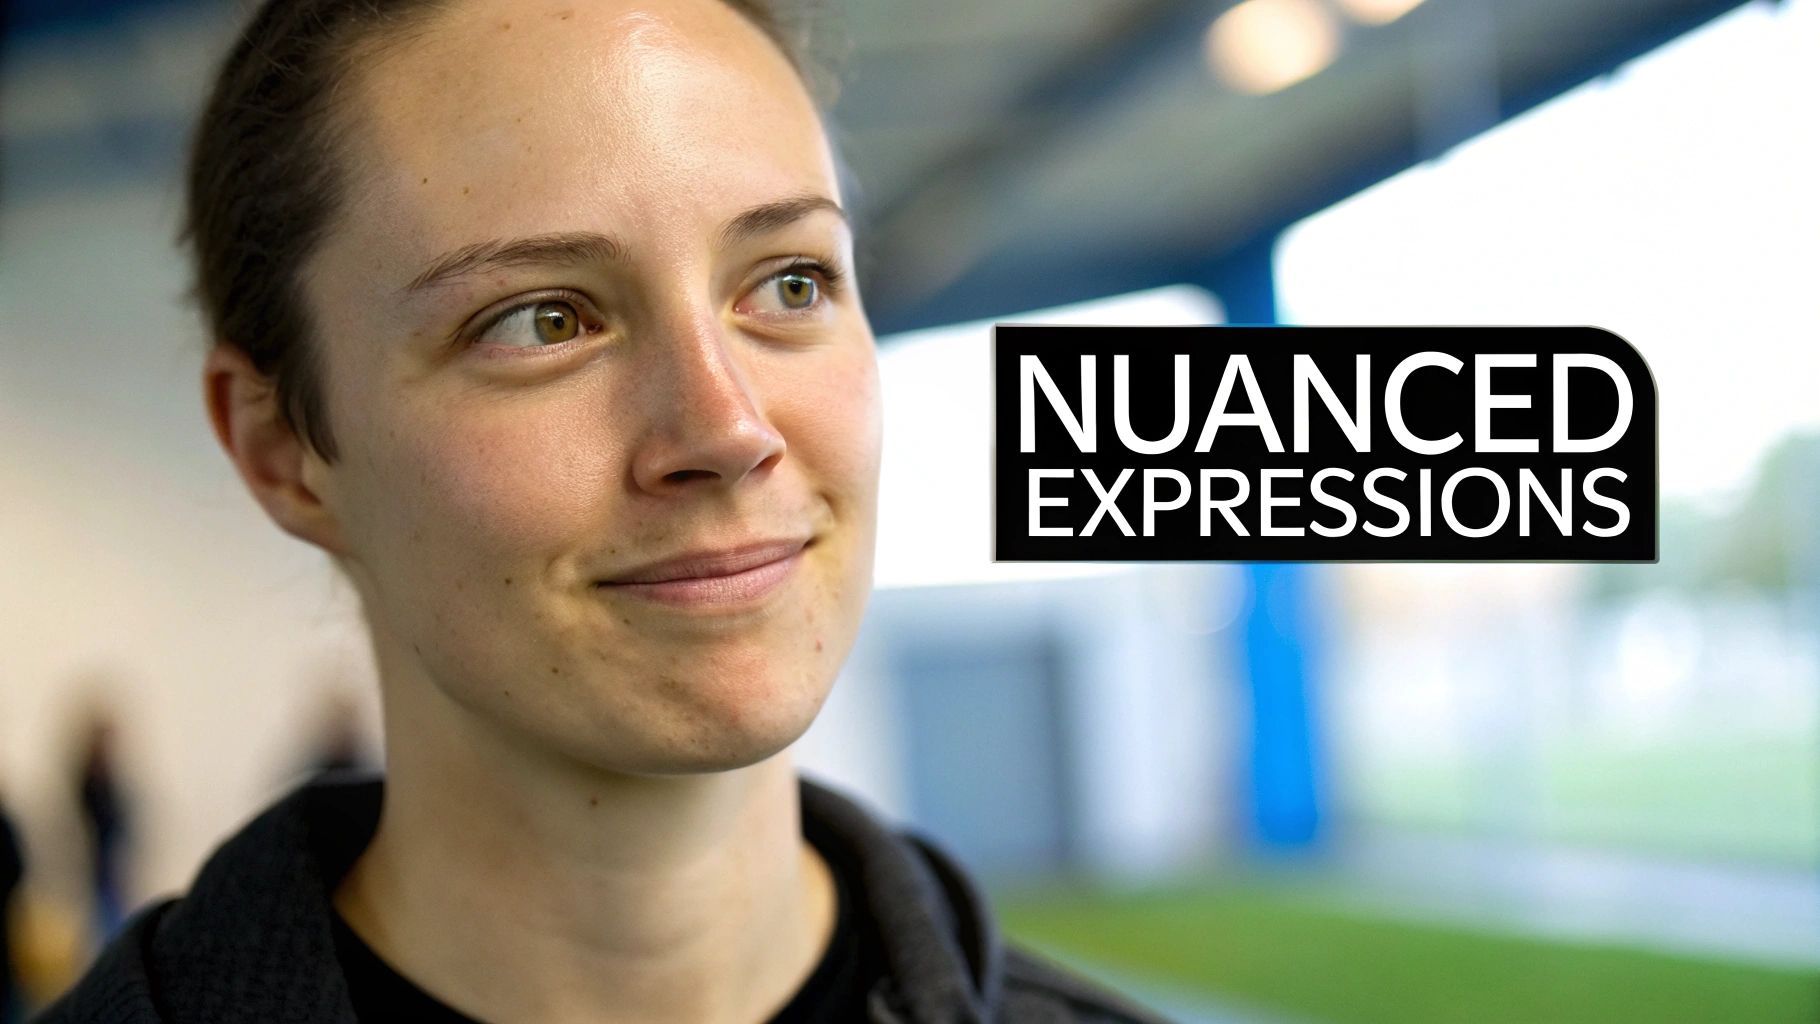
Why Nuanced Expressions Define Your AI Avatar
Look, getting a handle on AI face expression change isn't just a technical skill—it's about creating a genuine connection. We're all drowning in digital content, so a character that can show real emotion is what stands out and builds a following. A simple smile can make an avatar feel warm and approachable; a slight frown can add a layer of complexity to a story. These little details are what build a digital persona people remember.
This completely changes the game for creators. Instead of being stuck with a single, static portrait, you can now direct a whole performance.
This is a huge deal for things like:
- Social Media Storytelling: Imagine your AI influencer reacting to comments in their Instagram stories with the perfect expression every time.
- Brand Campaigns: You can create ad visuals where a character’s look of pure delight or surprise is what sells the product.
- Personalized Content: Think about making custom content for fans where your avatar’s expression is matched perfectly to a specific message.
The Foundation of Digital Emotion
The fact that we can tweak facial expressions with such precision comes from decades of work in computer vision. Honestly, facial recognition has seen some of the biggest leaps forward over the last 60 years, moving from basic feature-spotting in the 1960s to the powerful deep learning models we use now. Old-school methods like Eigenfaces in the 90s got the ball rolling, but it was the arrival of Convolutional Neural Networks (CNNs) in the 2010s that really let us detect and recreate subtle emotions with incredible accuracy.
The tools we have today stand on the shoulders of that history. Here's a look at the kind of lifelike expressions you can achieve with a platform like CreateInfluencers.
You can see how the platform generates completely different faces, each with its own personality shining through in the expression. That's the goal.
From Puppet to Personality
At the end of the day, controlling an avatar's expressions is how you build a character, not just a picture. It's the line between a digital drawing and a digital being.
When you know how to command every smile, frown, and glance, your content goes from being just another visual to a story that pulls people in. This emotional depth is a huge part of what makes a good character design, making your avatar feel authentic and relatable.
Now, let's get into the practical steps to make it happen.
Laying the Groundwork: Prepping Your Source Images
Every great AI-generated expression starts with a fantastic source image. It’s a simple truth I've learned from countless hours of work: if you feed the AI junk, you'll get junk back. Taking the time to properly prepare your photos is the single most important thing you can do to avoid weird artifacts and unnatural-looking results.
Think of it this way: the AI is an artist, and your source photo is its reference sketch. A blurry, poorly lit photo just doesn't give it enough information to create a masterpiece. It's forced to guess, and that's when things get messy.
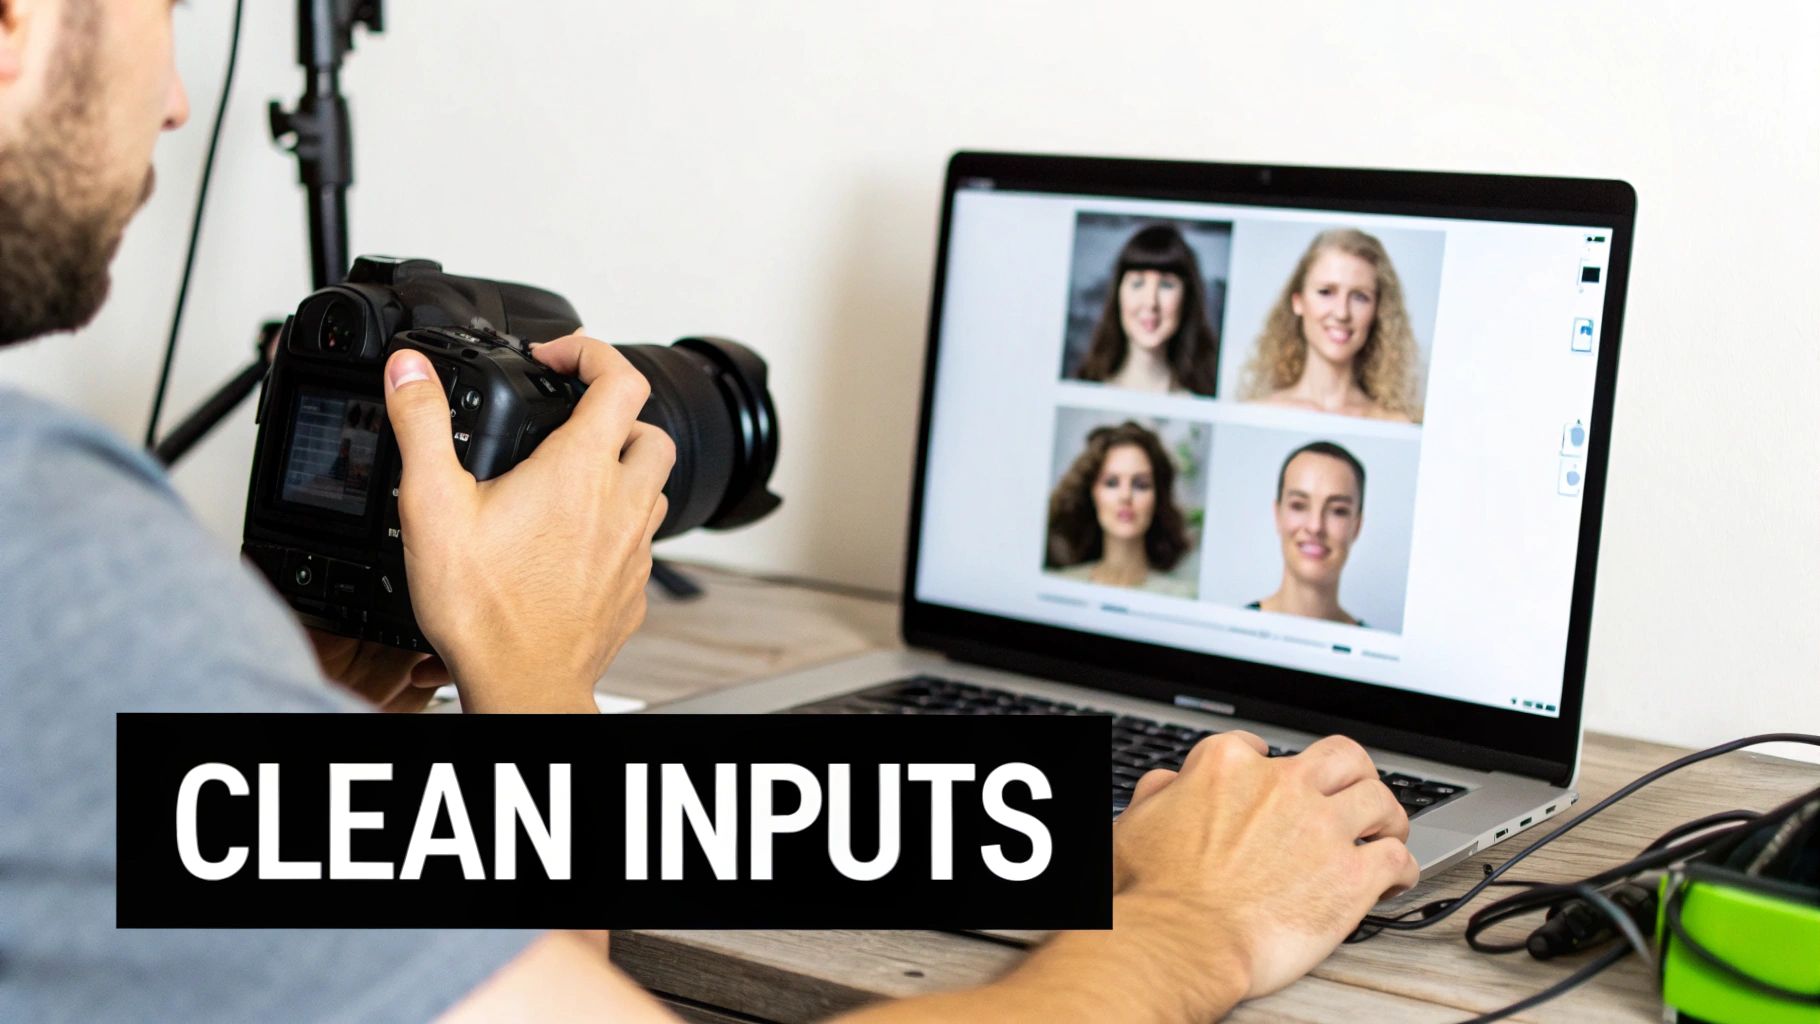
Getting the Basics Right for Clean Inputs
Your main goal here is to give the AI the clearest possible picture of the face you're working with. That means a high-resolution shot where the face is front and center—well-lit, sharp, and free of anything blocking it.
- Resolution is Everything: A high pixel count means more data for the AI to work with, which translates directly to more detailed and believable expressions. Don't even try with a low-res, grainy photo.
- Good Lighting is Non-Negotiable: Soft, even lighting is your best friend. You want to see the whole face clearly, without any deep, harsh shadows that obscure the features. Classic portrait lighting is perfect for this.
- Start with a Neutral Canvas: This is a pro tip that saves so much headache. Always, always start with a photo where the person has a completely neutral, relaxed expression. This gives you a blank slate, making it infinitely easier for the AI to convincingly add a smile or a look of surprise.
My Two Cents: Your source image is the foundation of the entire process. A sharp, well-lit photo with a neutral expression is honestly 90% of the battle. Get this right, and everything else becomes easier.
One last technical tip: when you save your files, pay attention to the format. It helps to understand lossy and lossless compression. I always stick with a lossless format like PNG to make sure no crucial detail is lost before I even begin.
Taking Your Images from Good to Great
Once you've picked your best photos, a little bit of cleanup can make a huge difference. We're not talking about a full-on photoshop session here. Just simple tweaks to remove any distractions that might confuse the AI. Think minor skin blemishes, a stray hair across the forehead, or that annoying glare on a pair of glasses.
Another common pitfall is relying on just one source image. If you're aiming for truly dynamic results, you need to give the AI more to work with. I recommend providing a few different angles—a straight-on shot, a three-quarter view, maybe a slight profile. This helps the system build a much better 3D map of the face, leading to more realistic expressions that hold up from different perspectives.
And if you find your source images are just a little soft, don't despair. You can often rescue them by running them through some of the best image upscaling software to sharpen things up before you get started.
A Practical Guide to AI Expression Controls
Alright, this is where the real fun begins—sculpting your AI avatar's emotions. Modern platforms give you a few powerful ways to get a specific face expression change, and learning how to blend them is what separates the amateurs from the pros. This is how you move past generic smiley faces and start creating nuanced, believable reactions that build a character's personality.
Think of these controls as your digital artist's toolkit. The three main tools you'll be working with are text prompts, intensity sliders, and reference images. A text prompt is like giving an actor their motivation, a slider is for adjusting the "volume" of their performance, and a reference image is like handing them a photo for direct inspiration.
Mastering Text Prompts for Precision
Text prompts are your primary way of steering the AI. The more specific and descriptive you are, the better your results will be. Just typing "happy" will get you a basic smile, but that's really just scratching the surface of what’s possible.
To get more sophisticated expressions, you need to combine emotional words with physical descriptions.
For example:
- Instead of just "Surprised," try "Eyes wide with astonishment, mouth slightly agape."
- Instead of "Sad," try "A melancholic gaze, with the lower lip trembling slightly."
- Instead of "Confident," go for "A knowing smirk with a single raised eyebrow."
This kind of detail gives the AI concrete, actionable instructions. You're no longer just asking for an emotion; you're directing a specific, character-driven performance.
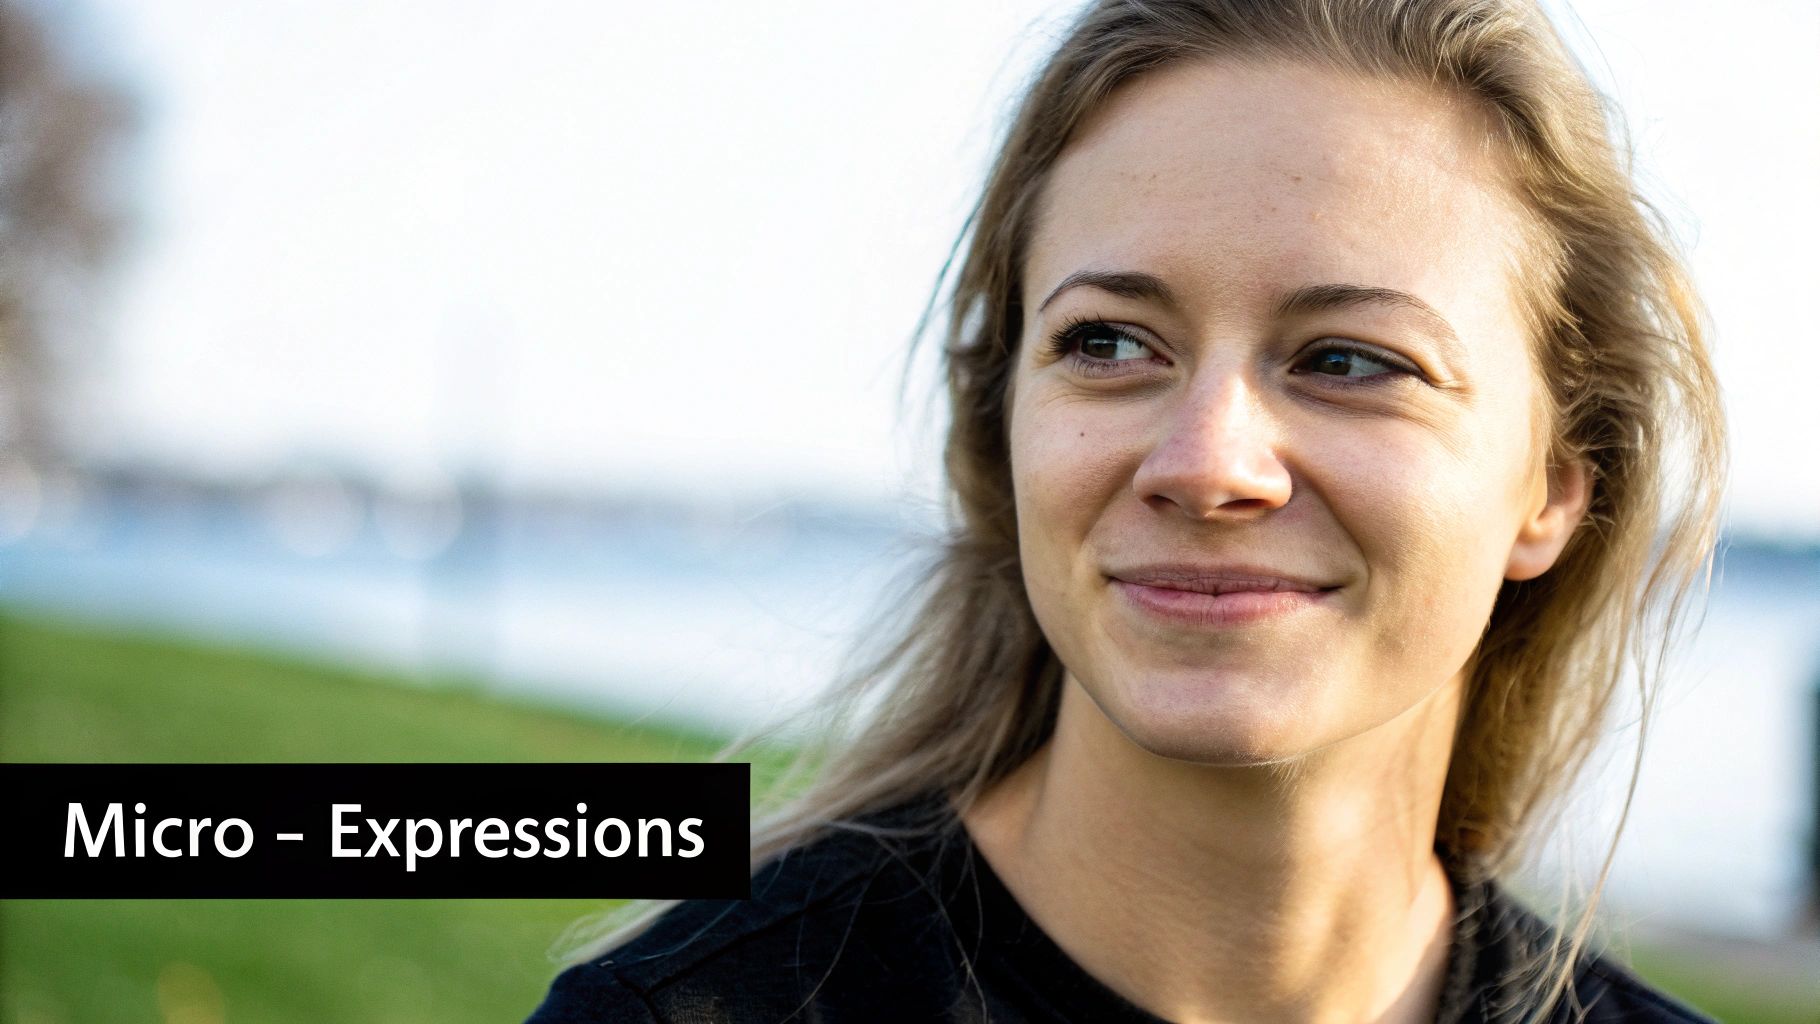
Using Sliders for Subtle Adjustments
Once your text prompt gets you in the ballpark, intensity sliders are what you use for fine-tuning. This is where you can dial the emotion up or down to get it just right. A full-blast, 100% intensity smile can often look a bit manic or forced.
From my experience, the sweet spot for a realistic, strong expression is usually between 60% and 80%. This gives you a look that feels more natural and authentic. If you're aiming for a subtle, fleeting micro-expression, you might even pull it all the way down to 20-30%. Playing around with these levels is key to avoiding that creepy "uncanny valley" feeling.
The goal is to find the perfect balance. An expression shouldn't look pasted on; it should feel like a natural part of the character's face. Sliders help you find that equilibrium.
The Power of Reference Images and Face Swapping
For ultimate control, nothing beats using a reference image. Find a real photo of the exact expression you're after—that subtle, knowing smirk or a look of genuine shock. The AI can analyze the key features of the reference and map them directly onto your avatar.
This method is closely related to the powerful technology of face swapping, which lets you graft a new face and its expression onto your character. We cover this in much more detail in our deep-dive guide on face swapping. It’s an incredible technique for keeping a character's look consistent across different images or even for "fixing" an actor's expression in post-production.
The technology that powers this has come a long way, built on decades of facial recognition research. Back in 2014, Facebook's DeepFace system hit 97.25% accuracy, which was nearly on par with human performance. That shows you just how mature the underlying tech was, long before it became a tool for creative expression.
Here's a quick breakdown of the core methods and when to use each one.
Core AI Expression Control Methods
| Control Method | How It Works | Best For |
|---|---|---|
| Text Prompts | You provide detailed written descriptions of the desired emotion and facial features. | Setting the initial emotional direction and creating complex, nuanced expressions from scratch. |
| Intensity Sliders | A numerical control (e.g., 0-100%) that dials the strength of a generated expression up or down. | Fine-tuning an existing expression, creating subtle emotions, or preventing an expression from looking too extreme. |
| Reference Images | You upload a photo of a face with the target expression for the AI to replicate on your avatar. | Achieving a very specific, hard-to-describe look, ensuring consistency, or matching a real person's expression. |
Understanding how to combine these tools is what will truly elevate your creations. You might start with a detailed text prompt, dial it back to 70% with a slider, and then use a reference image to perfect the shape of the mouth. This multi-layered approach is how you get professional, compelling results.
Animating Expressions for Dynamic Video Content
Static images have their place, but video is where your AI avatar truly springs to life. When you animate a face expression change, you’re creating dynamic content that can actually tell a story and hold someone's attention. This is how you move from generating simple portraits to directing a digital performance.
The trick to making these animations feel real is ensuring smooth transitions between emotions. A sudden jump from a neutral face to a full-blown smile looks jarring and, frankly, a bit creepy. What you're aiming for is a natural flow, scripting a simple emotional arc that mimics a real conversation.
Scripting an Emotional Arc
You don't need a Hollywood-level script for a short video, especially something like a 15-second social media clip. All you need is a simple map of the key emotional beats. This gives you a clear plan for generating the keyframes—the distinct expressions that anchor the beginning and end of each emotional shift.
Here’s a practical workflow I use for short video ads:
- Beat 1 (0-3 seconds): The avatar starts with a neutral, maybe slightly curious expression as a new product appears on screen.
- Beat 2 (4-8 seconds): As the product’s main benefit is revealed, the expression shifts to pleasant surprise or intrigue.
- Beat 3 (9-15 seconds): The video closes with a warm, confident smile, conveying satisfaction and trust.
This simple structure creates a mini-narrative that the audience can instantly connect with, all driven by your avatar's changing expressions. By generating a high-quality image for each of these three beats, you have the core building blocks to blend together in your video editing software.
A well-planned emotional arc, even a tiny one, is what makes a video compelling instead of feeling like a glorified slideshow. You're essentially guiding the viewer's feelings by showing them how your character reacts.
Using Voice to Drive Animation
A lot of the newer tools are now incorporating voice-driven animation, which is a game-changer. This feature syncs your avatar's expressions and lip movements directly to an audio track. The tech is smart enough to analyze the tone, pitch, and cadence of a voiceover to generate surprisingly realistic facial movements to match.
Think about it: your avatar could react with subtle eyebrow raises or slight smiles that perfectly align with the emotion in your voice. This is fantastic for creating personalized marketing messages or any narration where you need that extra layer of authenticity. To take this even further, you can explore offerings from AI video generation platforms like Vidito.
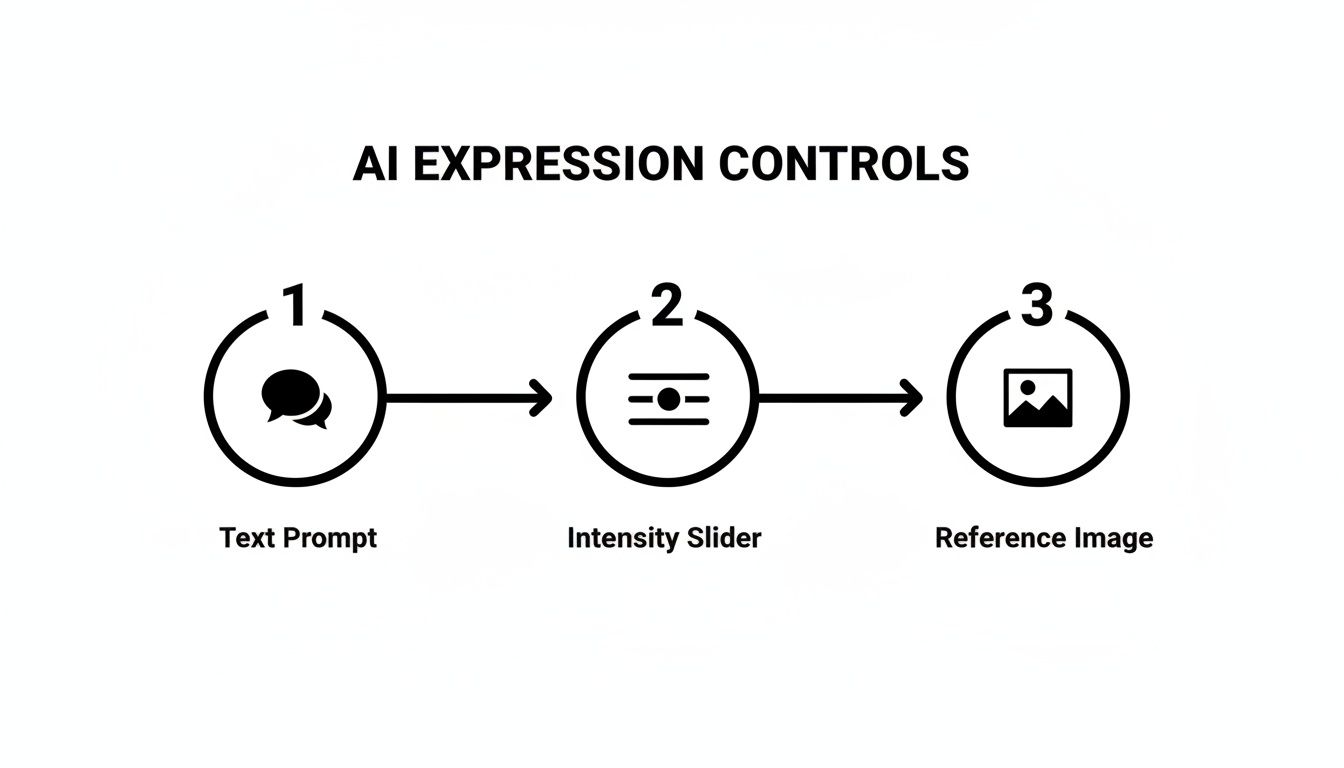
The diagram above breaks down the core inputs you'll use to direct an AI's expression, from simple text prompts to more nuanced controls like intensity sliders and reference images.
Each of these methods gives you a different level of control, and learning to blend them is where the real magic happens. If you're looking to dive deeper into this, our guide on building a https://createinfluencers.com/blog/talking-avatar-creator workflow is a great next step.
Advanced Techniques for Hyper-Realistic Expressions
Getting a basic smile out of an AI tool is one thing. Making that smile actually feel genuine? That’s where the real craft begins. This is for those of you ready to move beyond the default settings and start creating expressions with truly lifelike subtlety and depth. A convincing face expression change is all about nailing the tiny details that make the entire emotion believable.
This level of realism all comes down to understanding how real faces work. Emotions aren't just isolated to the mouth or the eyebrows; they ripple across the entire face. A real, heartfelt smile, for example, always engages the muscles around the eyes, creating those little "crow's feet" crinkles. This concept is a core part of the Facial Action Coding System (FACS), which meticulously maps every facial muscle movement to specific emotional expressions.
You can actually use this knowledge in your prompts. Instead of just asking for a "smile," try something more descriptive like, "a joyful smile with eyes crinkling." You're guiding the AI to build a more authentic, holistic expression.
Mastering Light and Shadow
One of the most common giveaways of a fake expression is mismatched lighting. If you generate a new smile but its shadows don't line up with the original scene's light source, the whole thing will look jarringly out of place, almost like a bad photoshop job.
Before you do anything, take a hard look at how the light hits the original character's face.
- Find the Key Light: Where is the main light source coming from? Is it high up, off to the side, or directly in front?
- Study the Shadows: Pay attention to the soft shadows cast under the nose, along the jawline, and in the eye sockets.
- Prompt for Consistency: Work this into your prompts. Adding details like "lit from a soft light source on the left" or "dramatic overhead lighting" helps the AI seamlessly blend the new expression into the existing environment.
Getting the lighting right is often the single most important step for making a modified expression feel like it belongs in the image.
Upscaling for That Final Polish
Once you’ve generated an expression you’re happy with, the final move is to bring out all its fine details. This is where a good AI upscaler is your best friend. These tools do more than just blow up the image; they intelligently reconstruct and add texture, sharpness, and clarity to the most crucial features of the face.
A truly great expression is found in the details—the faint dimple that appears with a smirk, the specific glint in an eye, the subtle furrow of a brow. Upscaling makes these critical elements pop, turning a pretty good image into something photorealistic.
The fact that AI can even generate these nuances is a testament to how far the training data has come. Early datasets like CASIA-WebFace had around 500,000 images to learn from. Today, modern datasets like WebFace42M boast over 42 million images. This exponential leap, detailed in research on large-scale face datasets, is precisely why today’s tools can render facial details with such astonishing accuracy.
When you start combining a solid understanding of facial anatomy with the technical skills of managing light and upscaling, you’re no longer just using a tool. You’re becoming a digital artist, capable of directing a genuinely authentic performance from your AI model. For a deeper dive, check out our guide to creating realistic AI-generated images.
Got Questions About Changing AI Facial Expressions?
When you first start playing with AI-driven art, you're bound to have questions. It’s one thing to generate a static face, but it's another thing entirely to manipulate something as nuanced as a human expression. Let's walk through some of the common roadblocks people hit and figure out how to get you past them.
Why Do My AI Expressions Sometimes Look… Weird?
Ah, the classic "uncanny valley" problem. It's probably the most common hurdle you'll face. This happens when an expression is technically right but just feels off because it's missing those tiny, authentic details that signal a real human emotion.
More often than not, the culprit is a poor-quality source image, cranking the expression intensity way too high, or mismatched lighting between the new expression and the original photo.
To avoid that creepy, robotic look, always start with a high-resolution, evenly lit photo where the character has a neutral expression. And here's a pro tip: resist the urge to slide that expression control all the way to 100%. I've found the sweet spot is usually in the 60–80% range, which delivers a much more believable effect. Also, keep a close eye on the eyes—a genuine smile isn't just in the mouth; it crinkles the muscles around the eyes.
Can I Change Expressions in a Photo or Video I Already Have?
You sure can. This technique is often called "face swapping" or "face replacement" in most AI tools, and it's incredibly powerful. The process usually requires two things: your source media (the photo or video you want to change) and a target face showing the exact expression you're aiming for.
You just upload your source material, generate a new face with the right look, and let the AI do the heavy lifting. It intelligently maps the new face and its expression onto the person in your original media, doing its best to blend it with the existing lighting and head angle. This is a game-changer for marketers who need to tweak an actor’s performance in a commercial or for creators who want to give old content a completely different emotional spin.
A good face swap should be invisible. The goal is to make the new expression look like it was there all along, keeping the character's identity intact while just shifting their emotional state.
What Are the Best Prompts for Specific Emotions?
This is where the real artistry comes in. The secret to great prompts is getting specific and using descriptive language that paints a picture. Don't just say "happy." Try something like, "joyful smile with eyes crinkling." Instead of "sad," go for "subtle frown with a melancholic gaze."
Here are a few examples I use all the time:
- For a confident look: Try prompts like "confident smirk," "knowing glance," or "arched eyebrow." These hint at a more complex, personality-driven emotion.
- For a playful vibe: I like using "winking playfully," "mischievous grin," or even "poking tongue out" to add a bit of fun.
- For anger or intensity: Phrases like "angry scowl," "furrowed brow," or "clenched jaw" will give you a much more dramatic and convincing result.
Don't be afraid to string several descriptions together and play around with the order. The more detail you feed the AI, the more nuanced and believable the final expression will be.
Ready to create stunningly realistic AI characters with expressions that truly connect? With CreateInfluencers, you can generate lifelike avatars, swap faces, and direct every emotion with just a few clicks. Start bringing your digital personalities to life today at https://createinfluencers.com.